Kids’ ATV Battery Maintenance Guide
Modern electric kids’ ATVs are equipped with electric starters as these are more convenient and easier for kids and adults to use to start a vehicle. Kick starters are now out of use. However, some ATVs are still equipped with both a kick starter and an electric one. For those ATVs featuring an electric starter or both types of starters, a battery is an essential unit giving the vehicle a charge to start. As electric starters are gaining in popularity and your ATV is most probably electrically started, it is important to learn the basics of ATV battery maintenance to avoid additional troubles.
 Kids’ ATV Batteries In Short
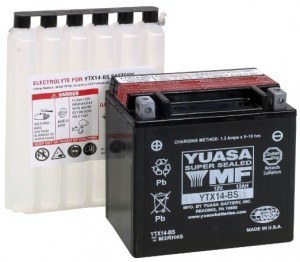
There are only a few things that you must understand, know and keep in mind about ATV batteries to get the maximum benefit of the operation. These are the basics of battery maintenance and keeping, the so-called Do’s and Don’ts. The first thing to learn about the battery is its type. Most batteries installed on ATVs are the lead-acid type which means that the battery unit is made of lead plates, sulfuric acid, oxide, and a water solution.
Commonly there are two types of ATV batteries used in modern vehicles. The first one is mostly known as ‘floated’ and the second is AGM batteries (the AGM abbreviation stands for Absorbed Glass Mat).
The Basics of ATV Battery Upkeep
Usually, any ATV battery needs maintenance 2-3 times per year which is rather easy to fit into your schedule. You can carry out the battery maintenance on weekends and engage kids in the process who may turn out to be a great help. Besides, they do always complain of boredom and nothing to do, so their free time can easily be converted into help.
The kids may perform general cleaning and clearing of some parts unless they are old enough to perform extra carefully and cautiously enough to be engaged in the entire ATV battery maintenance process. Any jewelry on your hands should be replaced with proper gloves, old clothes (which you can discard right after you finish cleaning up the battery) and goggles. You will need a mixture of water and baking soda to wash the battery. Add two-three spoonfuls of soda to a pint of water for the necessary concentration and better cleaning properties.
After the outer cleaning of the battery is done, you should check the level of fluid in the battery and if necessary refill it using distilled water only. After all of these steps are completed, you should connect the battery to the charger. While the battery is trickle-charged you need to process the connecting points on the side of the ATV. It is recommended to rub a bit of grease or Vaseline over the points and check and tighten the positive cable connections.
Cover the positive ATV battery connections and proceed further with the negative connections. That is a full cycle of kids’ ATV battery maintenance which will help you avoid any troubles in the course of its operation.


